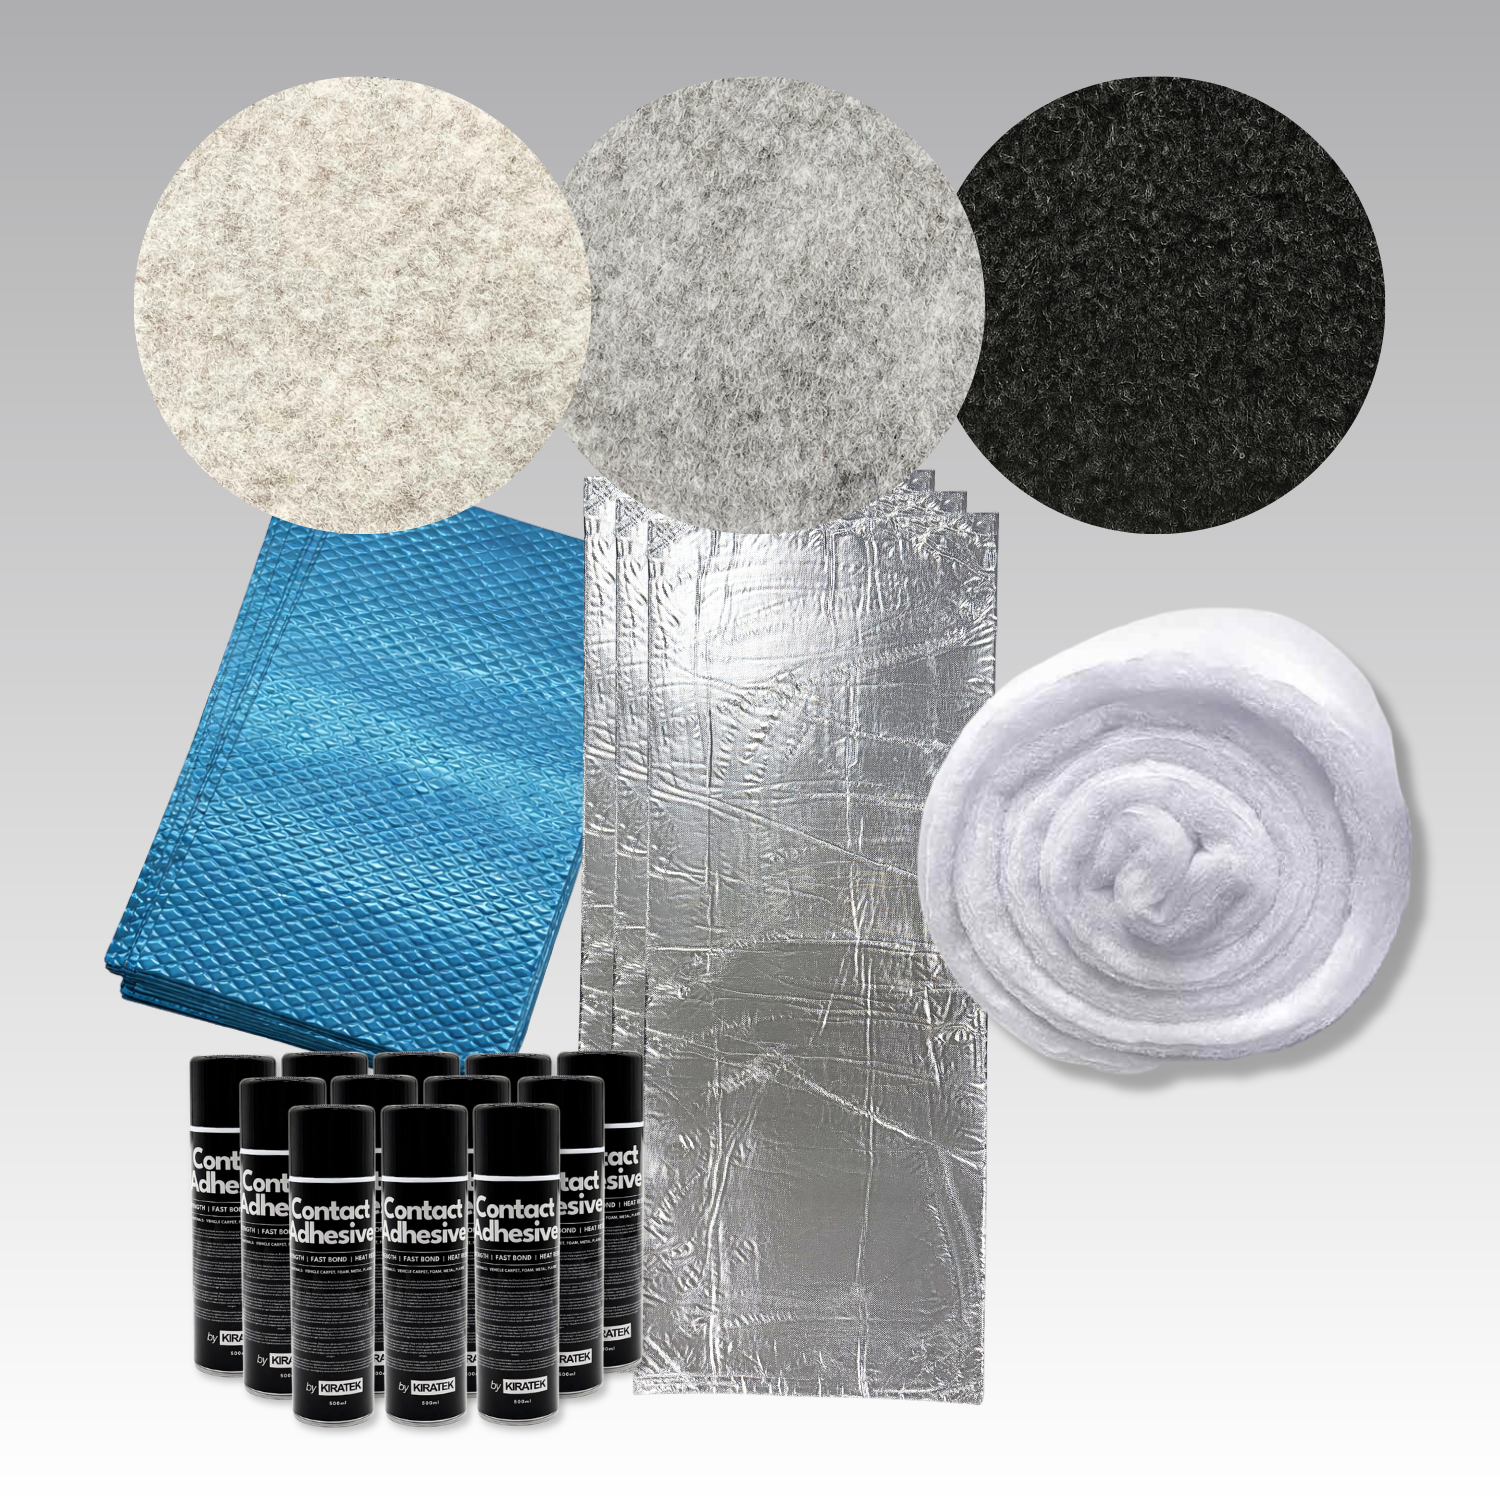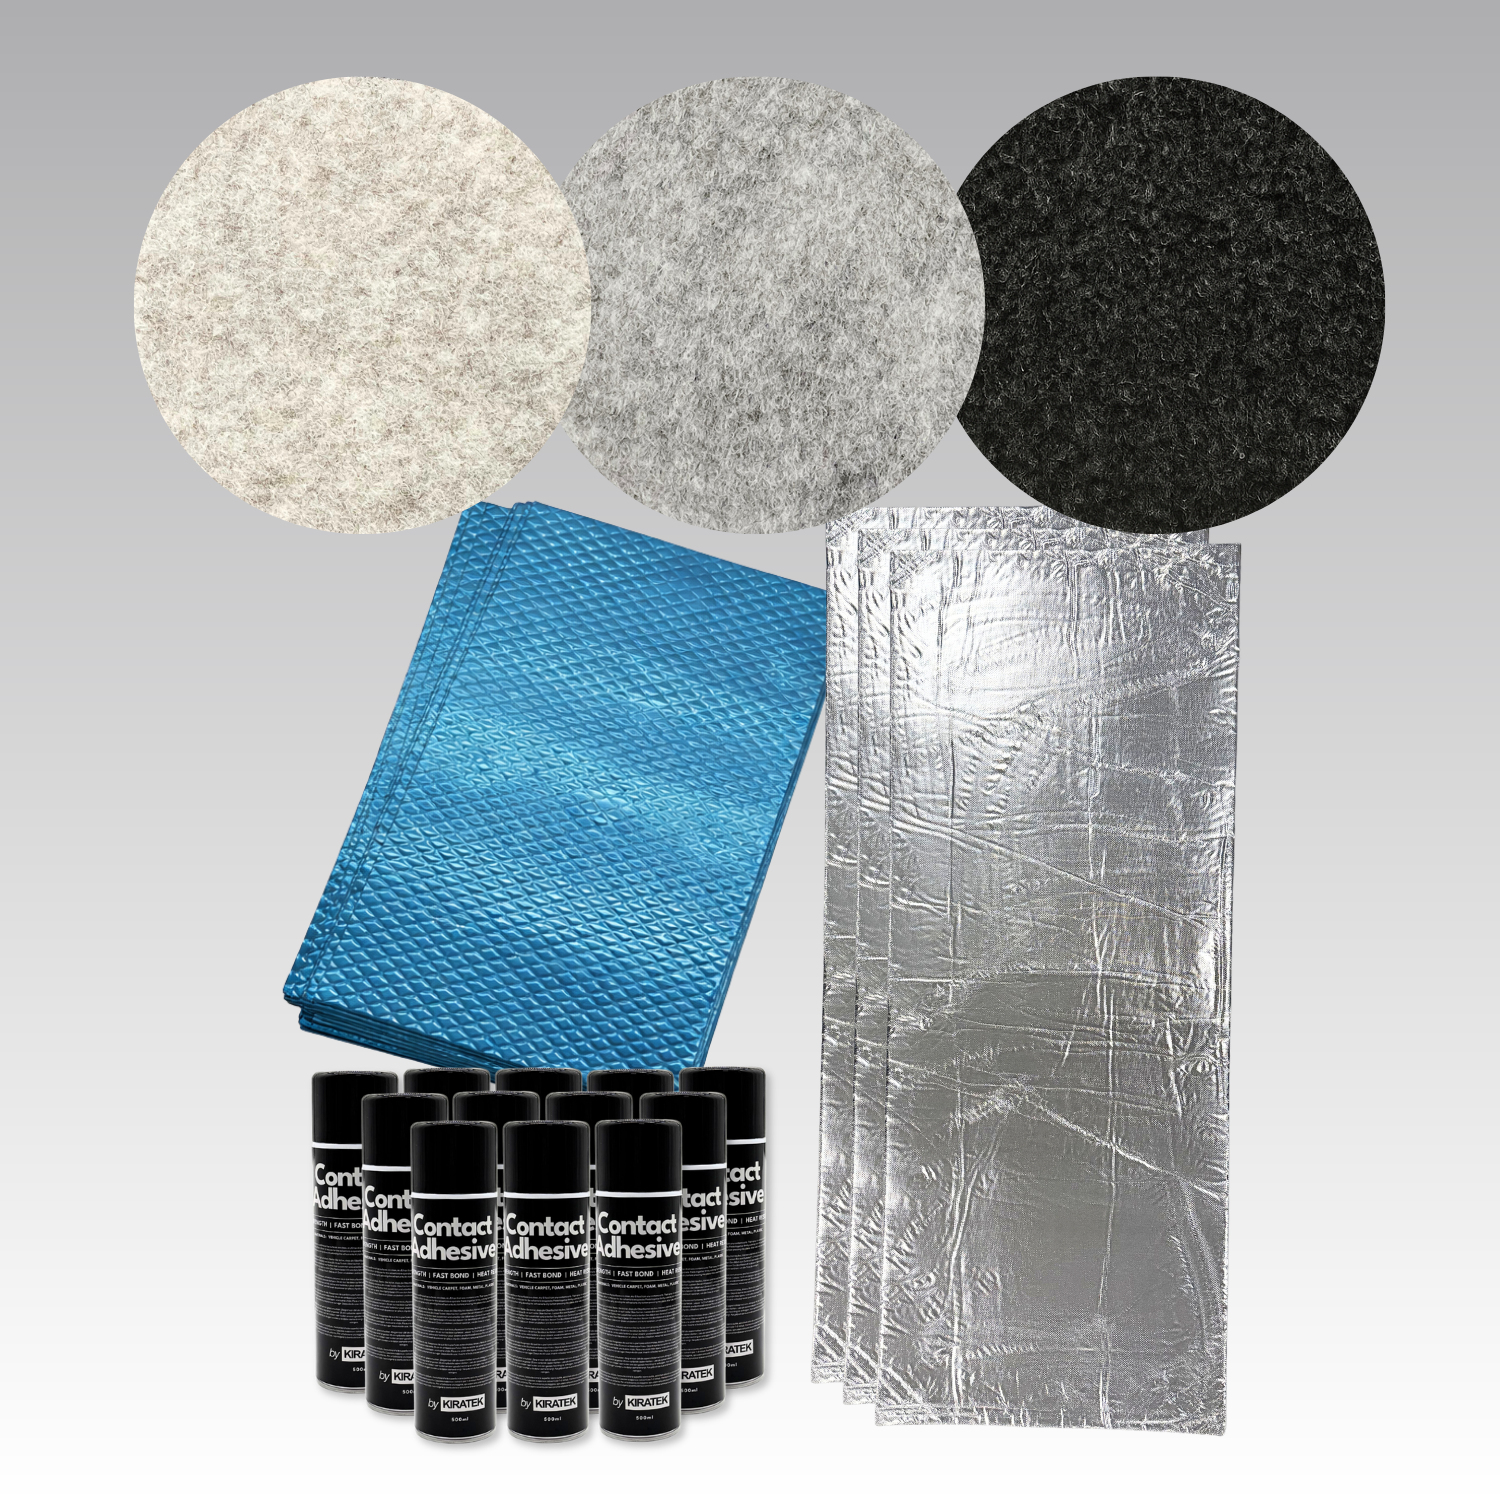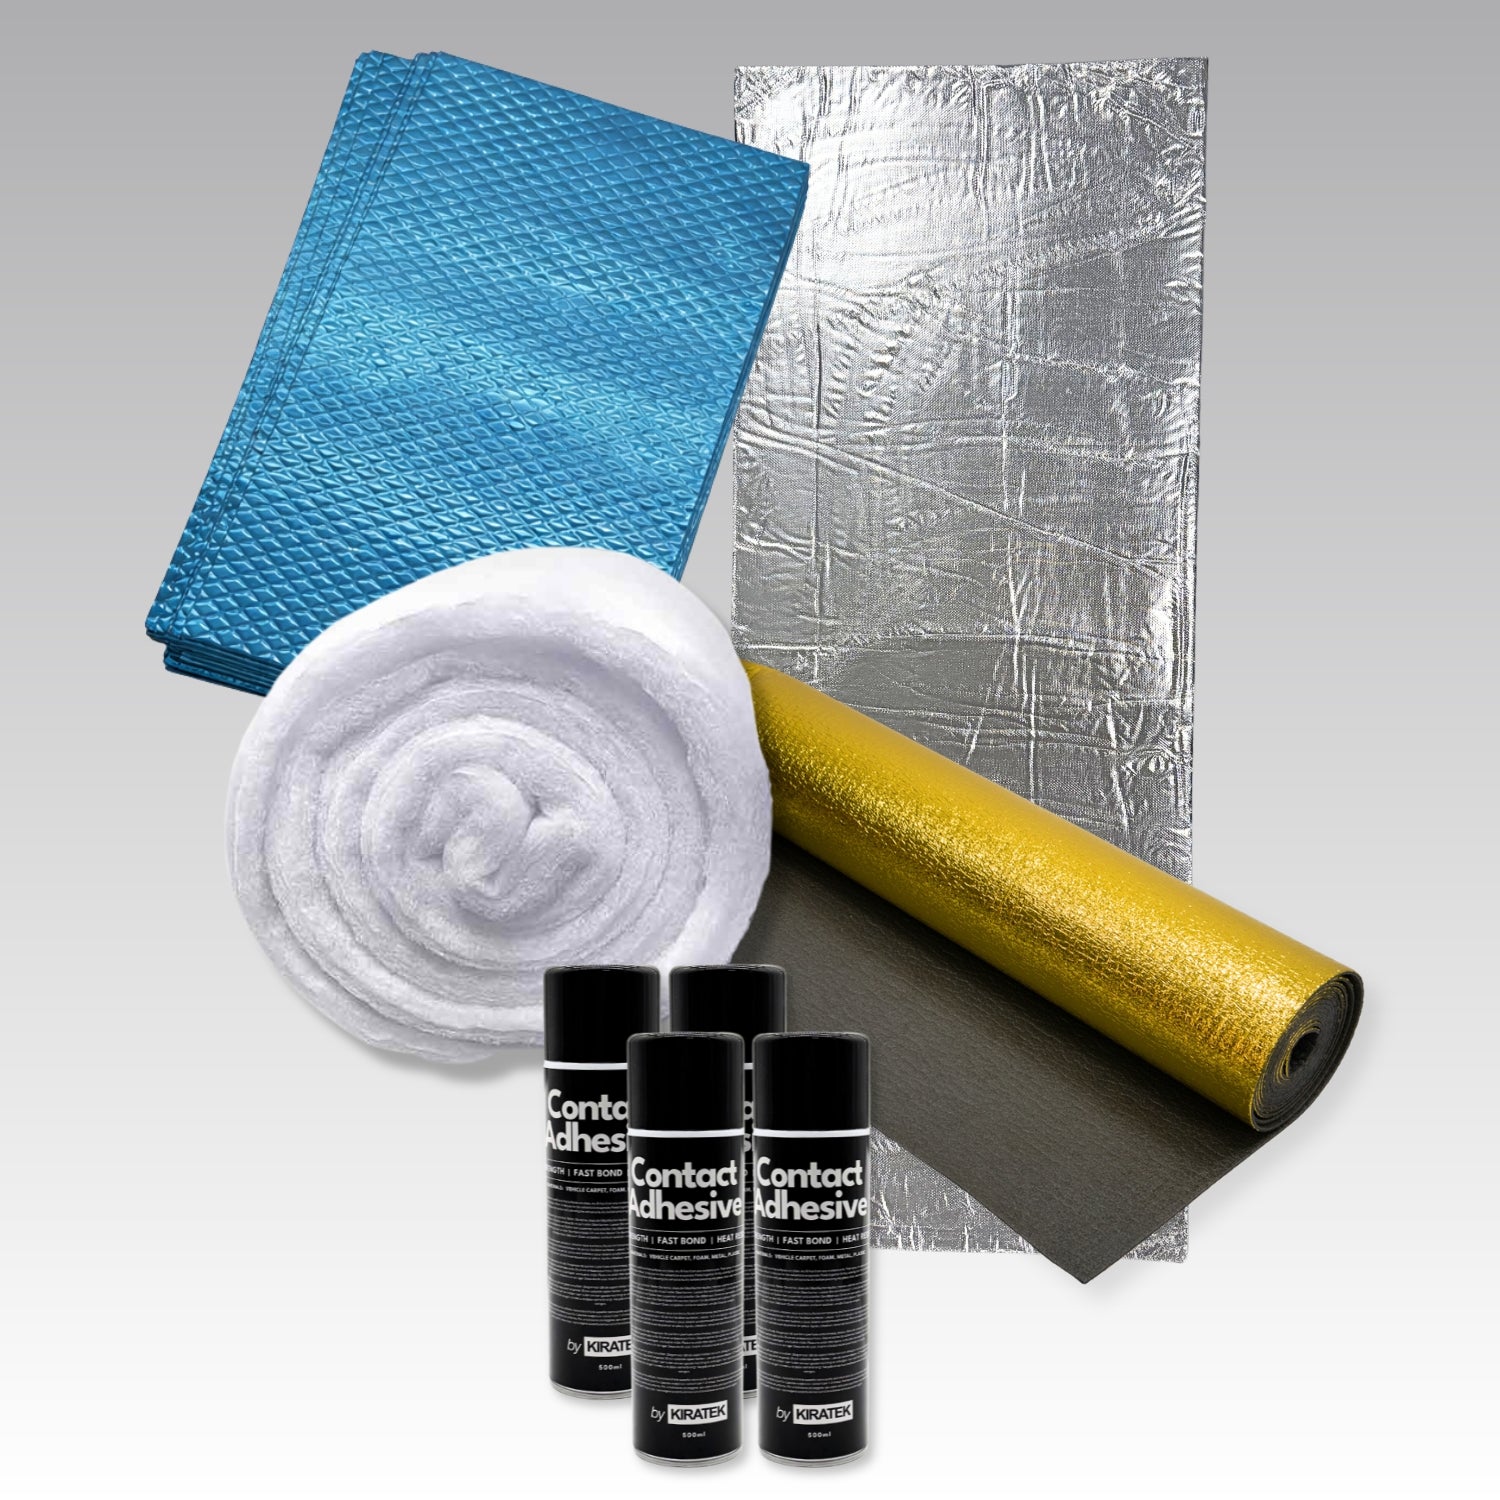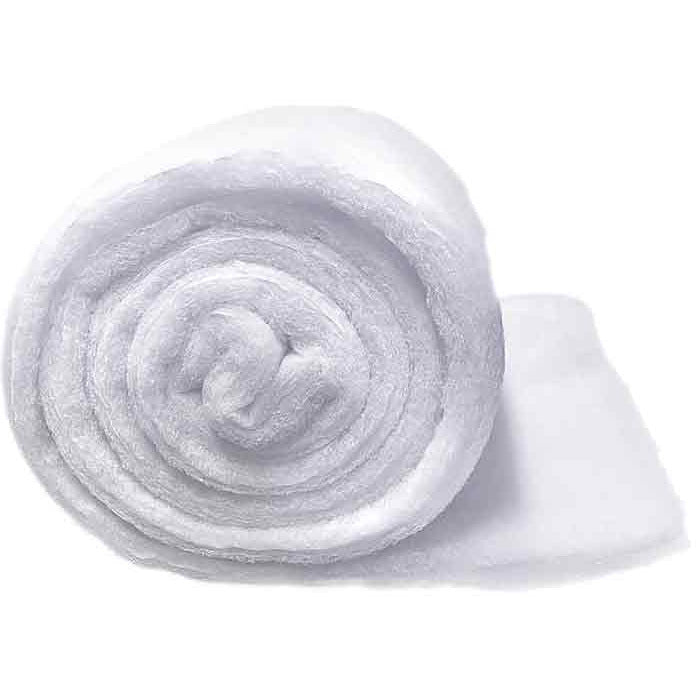


Descripción
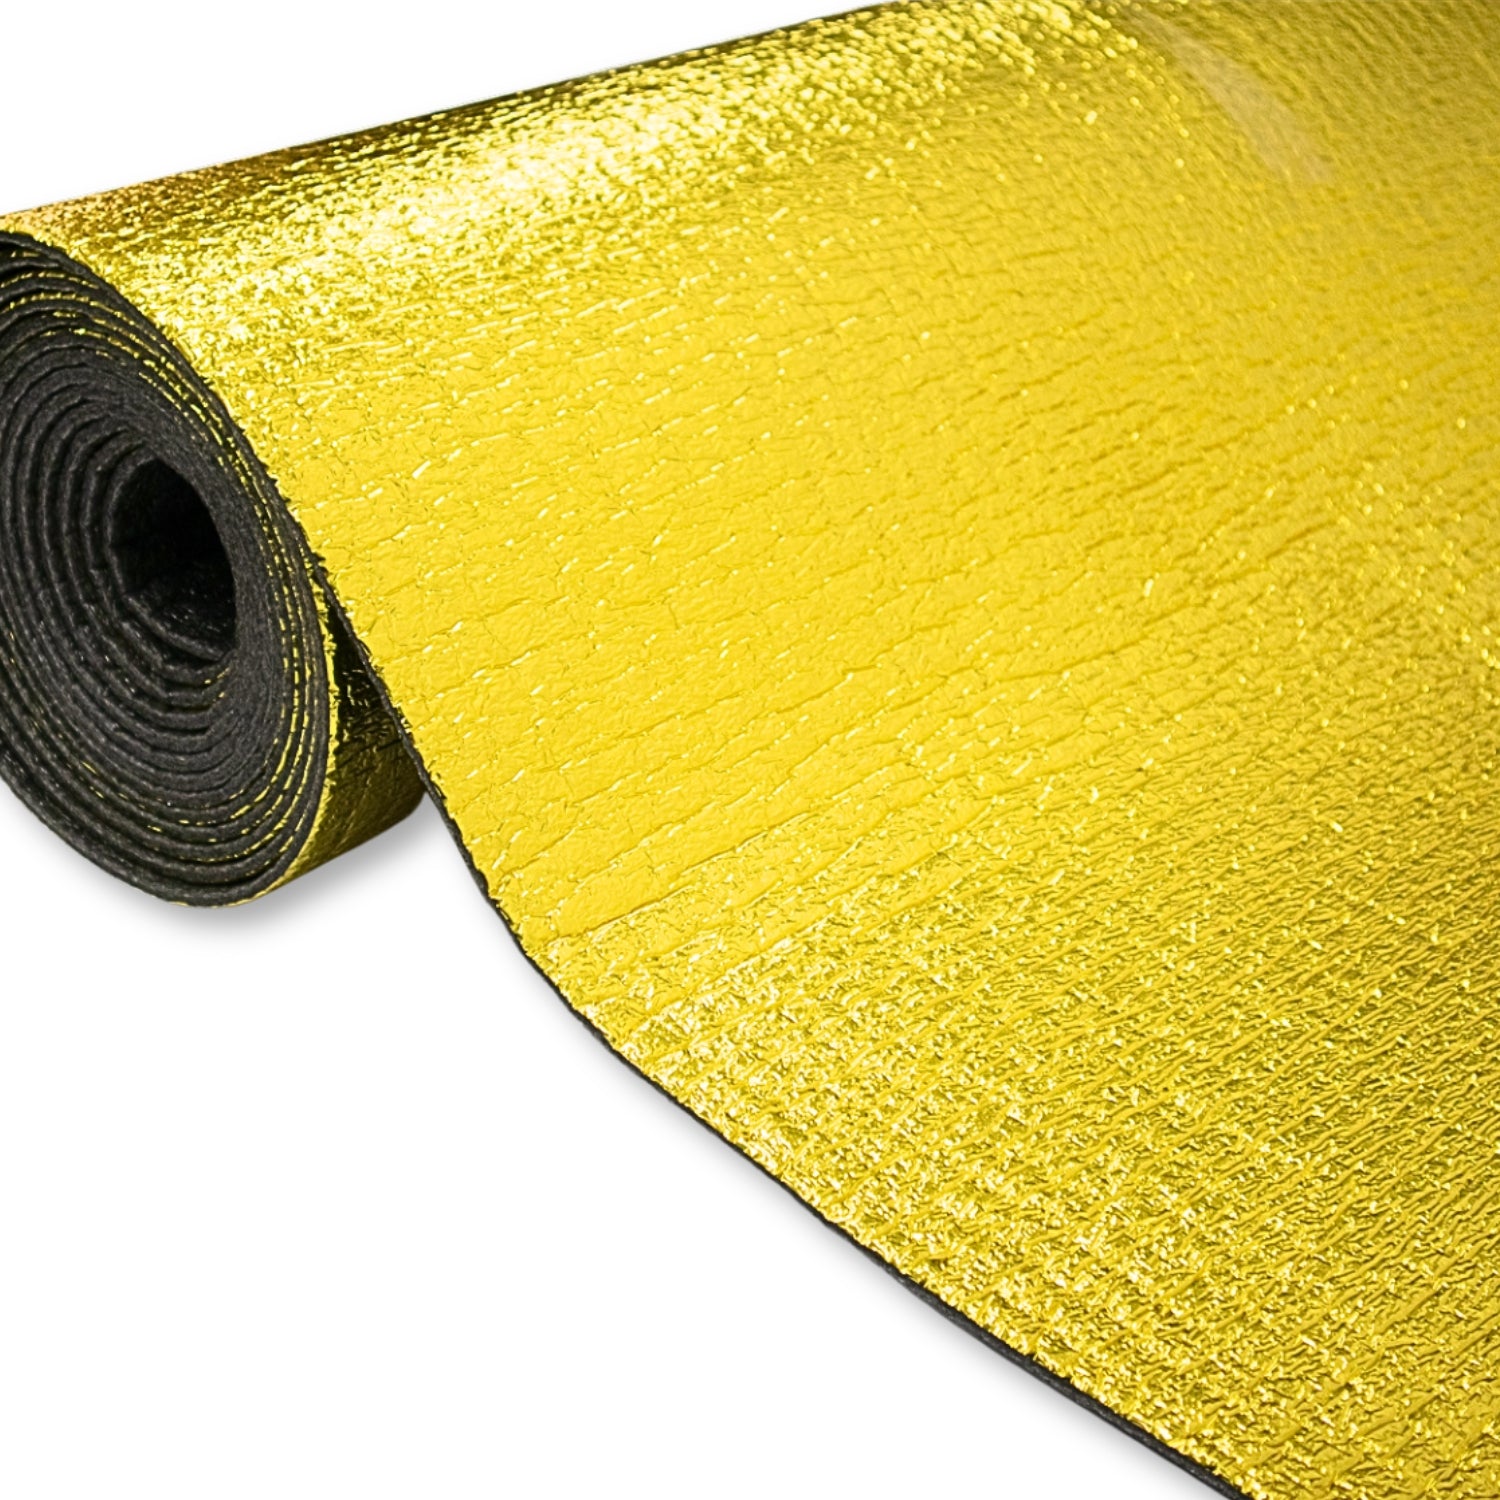
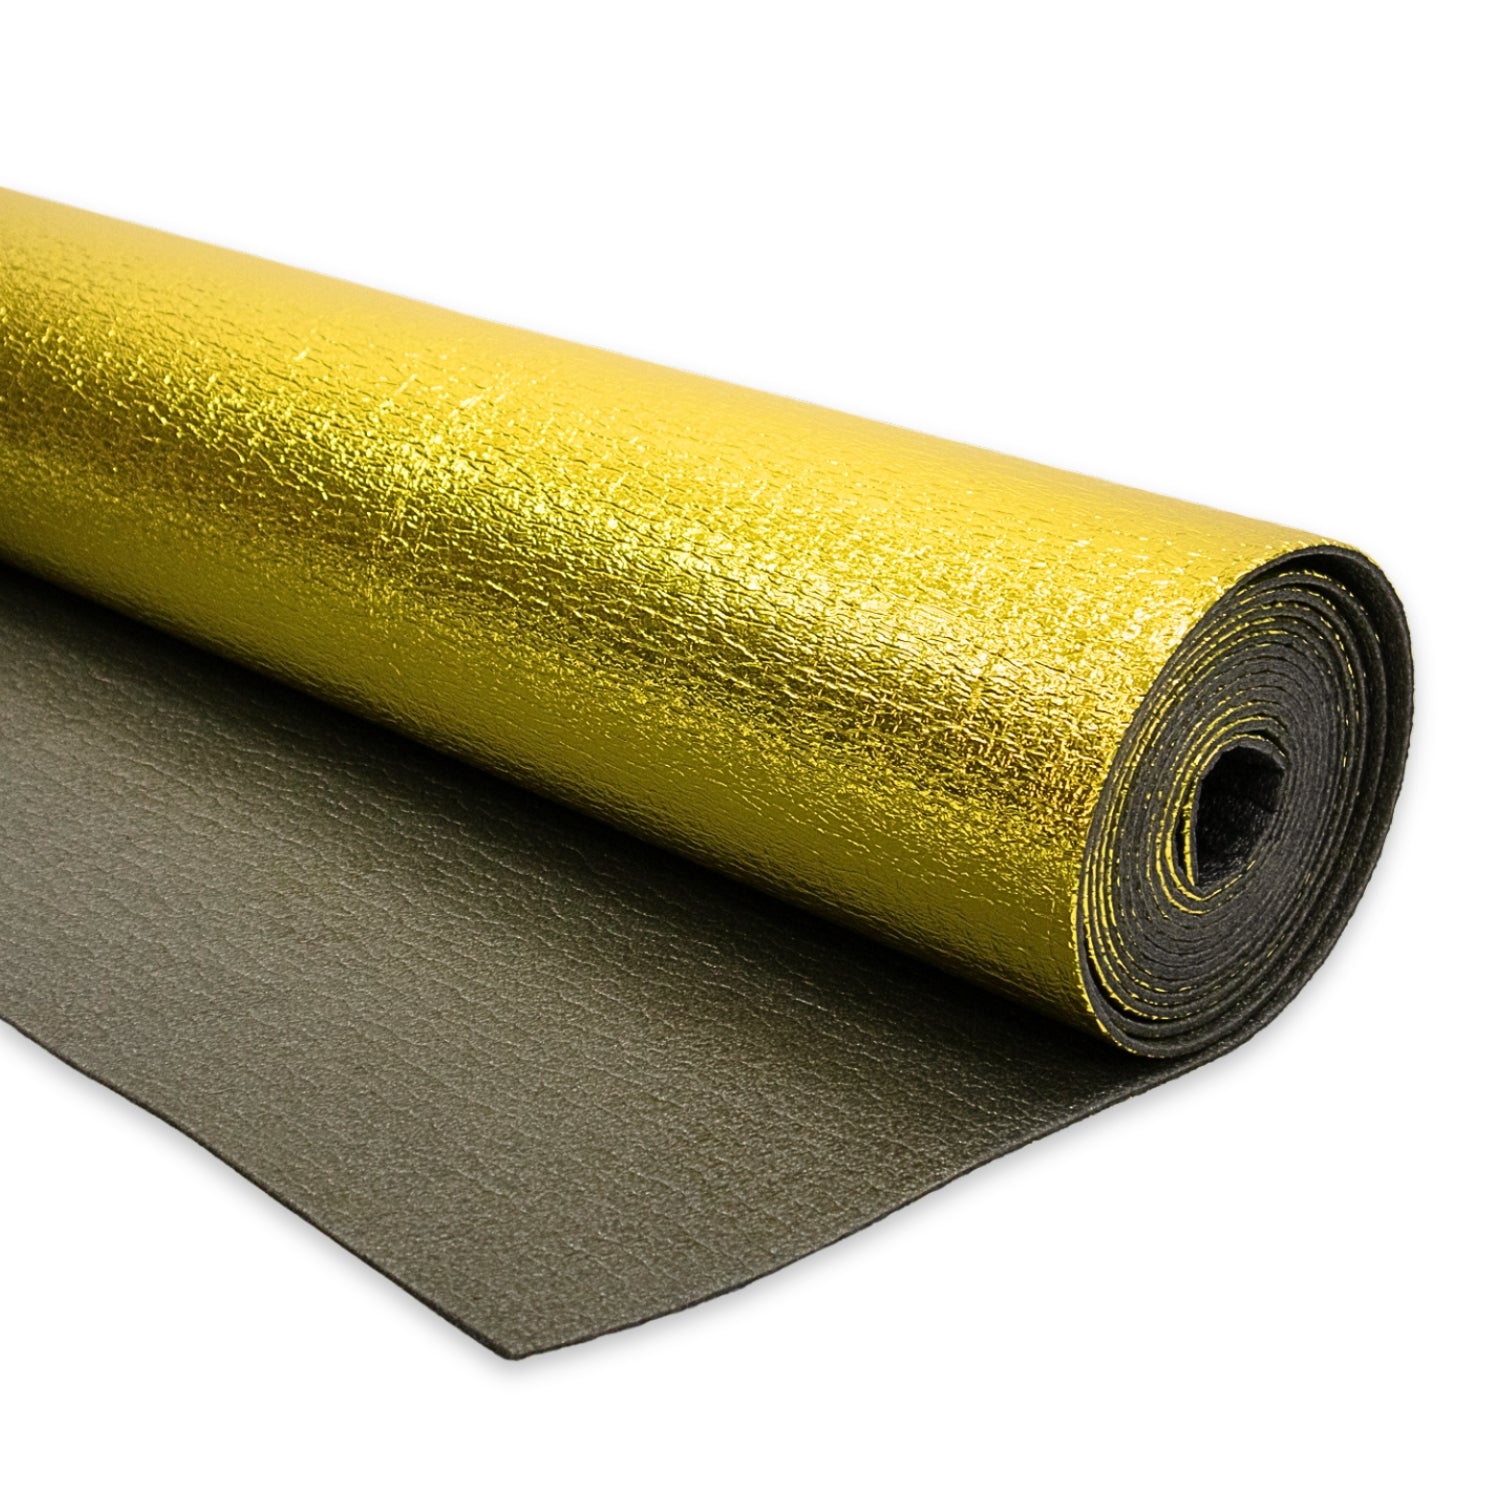
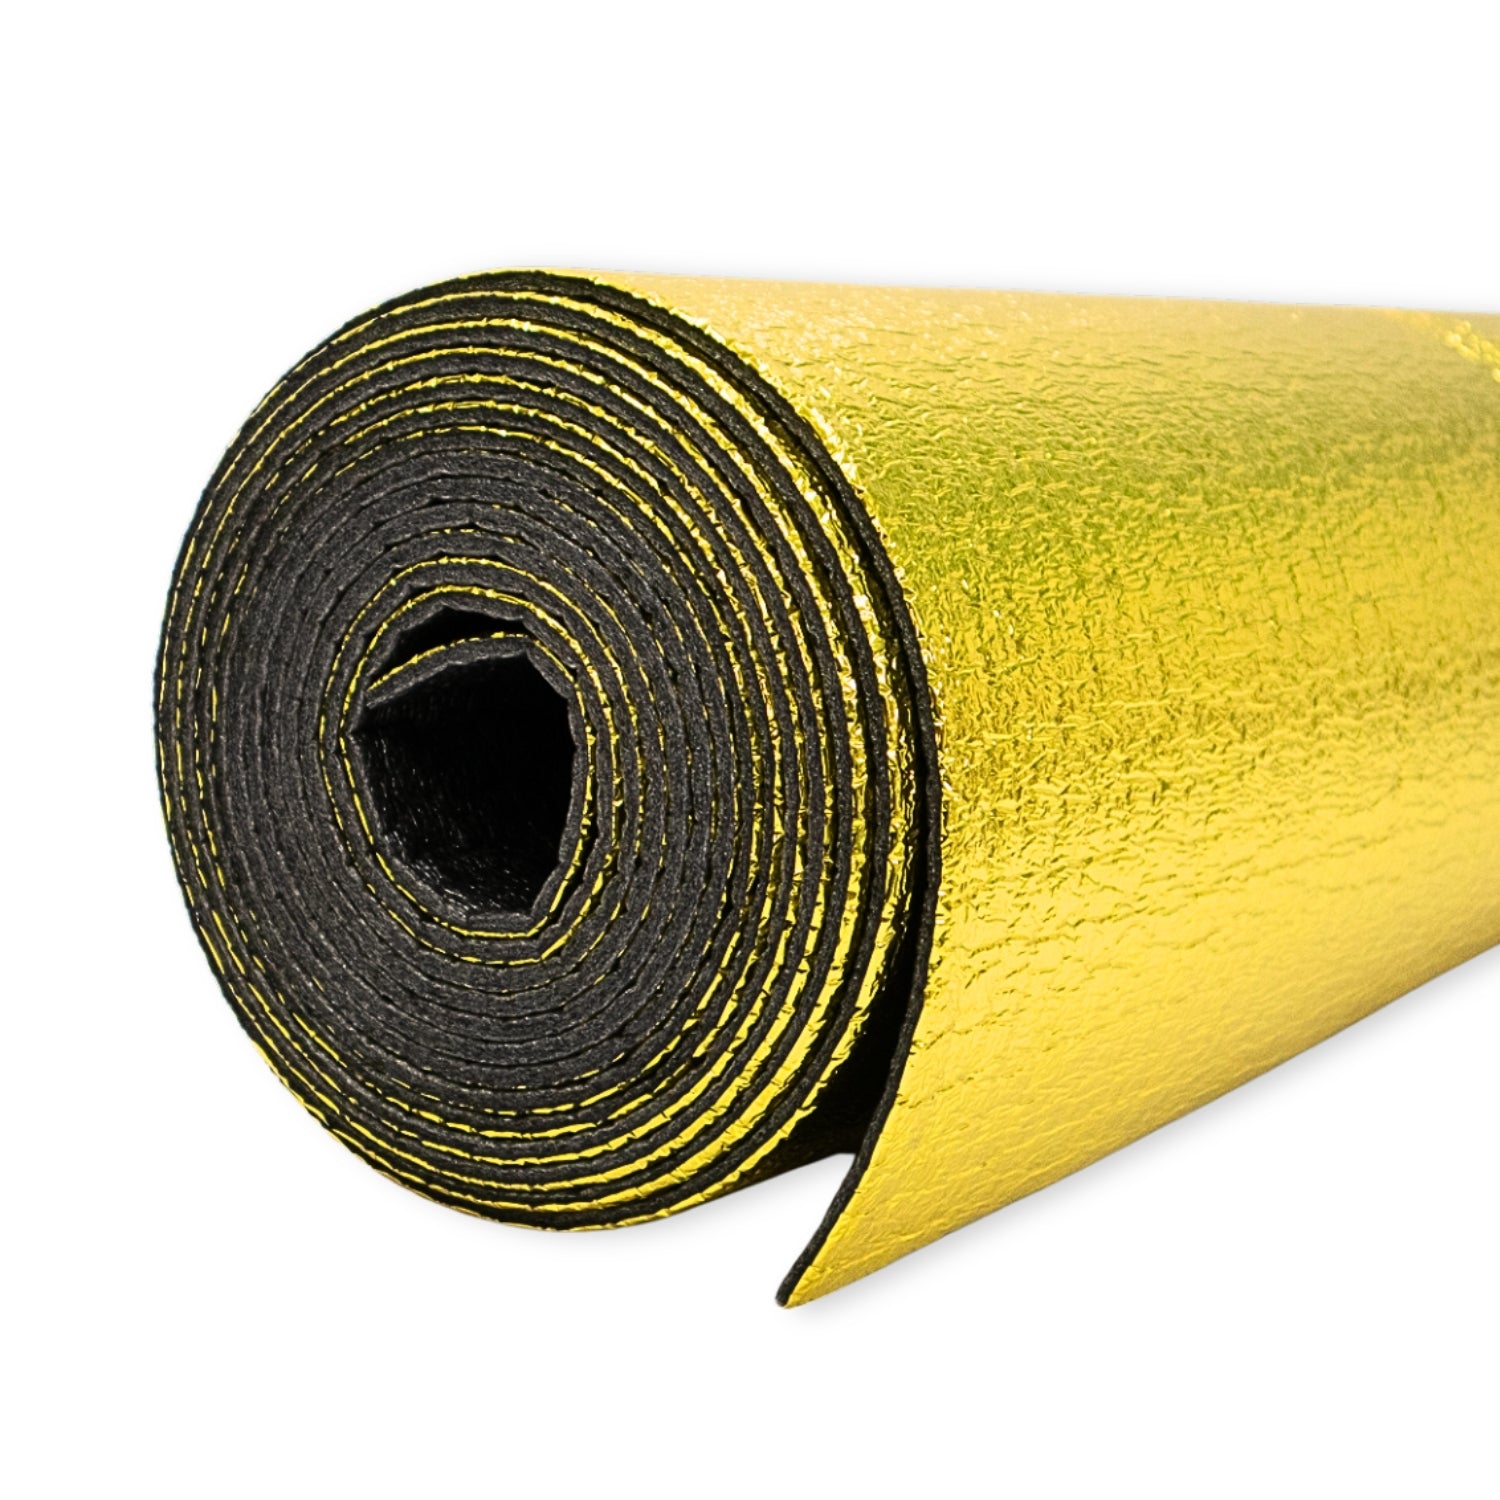
Este aislamiento bajo el suelo de primera calidad está diseñado para furgonetas y autocaravanas, y ayuda a reducir el ruido de la carretera y a mejorar el aislamiento térmico bajo el suelo.
¿Por qué utilizar aislamiento bajo el suelo?
El aislamiento bajo el suelo ayuda a crear una furgoneta más silenciosa, cálida y confortable añadiendo una capa aislante entre el suelo metálico y el revestimiento de chapa. Ayuda a reducir el ruido de la carretera y la vibración desde abajo, al tiempo que mejora la retención del calor para que la furgoneta se sienta menos fría bajo los pies. También ayuda a suavizar las pequeñas imperfecciones del suelo metálico, proporcionando a tu suelo de chapa una base más limpia y uniforme sobre la que asentarse.
💡 Kits de paquetes: Si ha llegado aquí buscando aislar una furgoneta completa, nuestro kit de aislamiento para furgonetas suele ser la mejor opción, ya que sale más rentable que comprarlo todo por separado.
Características principales
- Diseñado para debajo de la capa de suelo - Se coloca perfectamente debajo de la capa de suelo
- Reduce el ruido de la carretera - Ayuda a reducir el ruido y las vibraciones de la carretera.
- Mejora el aislamiento térmico - Ayuda a que su furgoneta sea más cálida y confortable bajo los pies
- Suaviza las pequeñas imperfecciones del suelo - Crea una superficie más uniforme debajo del suelo laminado
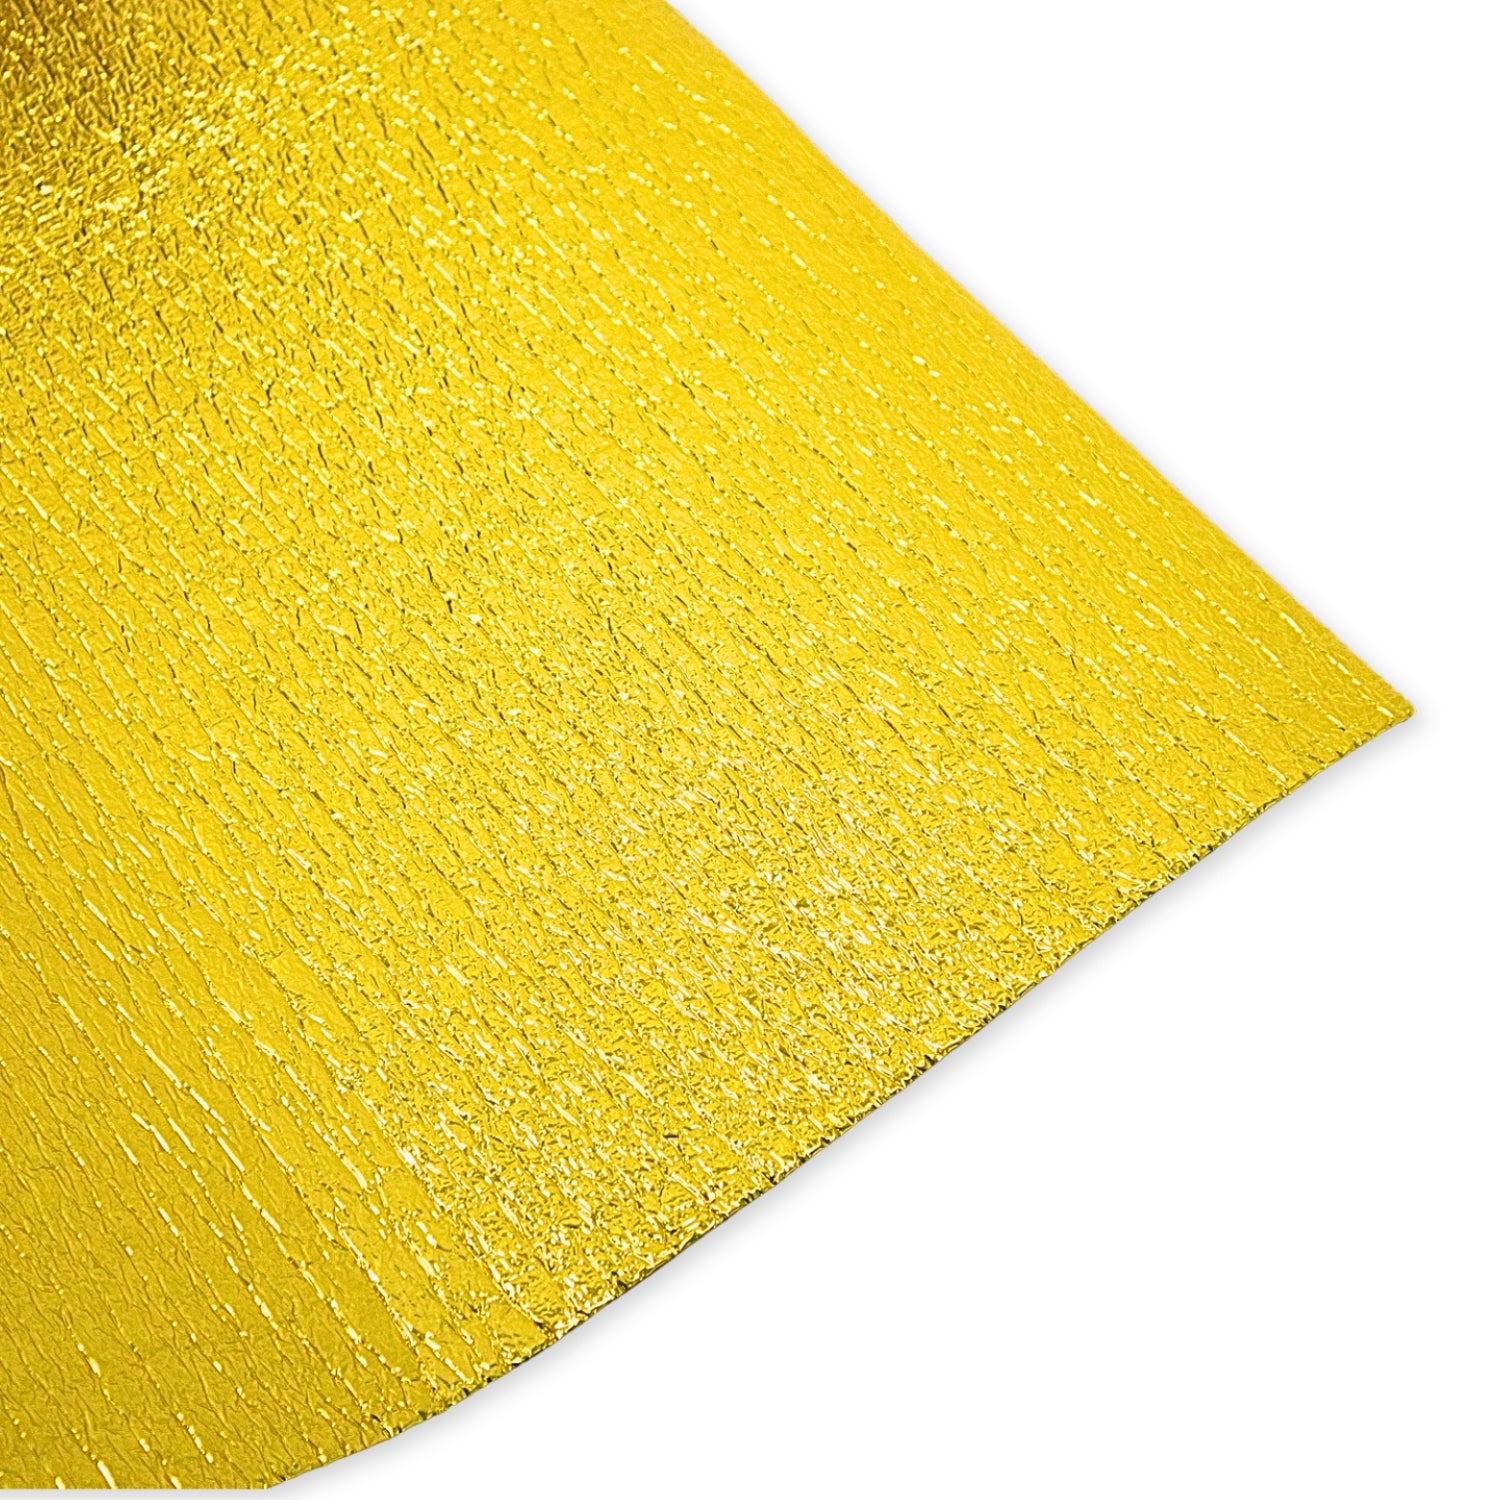
- Barrera de control de vapor de papel de aluminio dorado - Ayuda a reducir el riesgo de acumulación de humedad
- Ligero - Fácil de manejar e instalar
- Ignífugo - Seguridad añadida para la construcción de su furgoneta
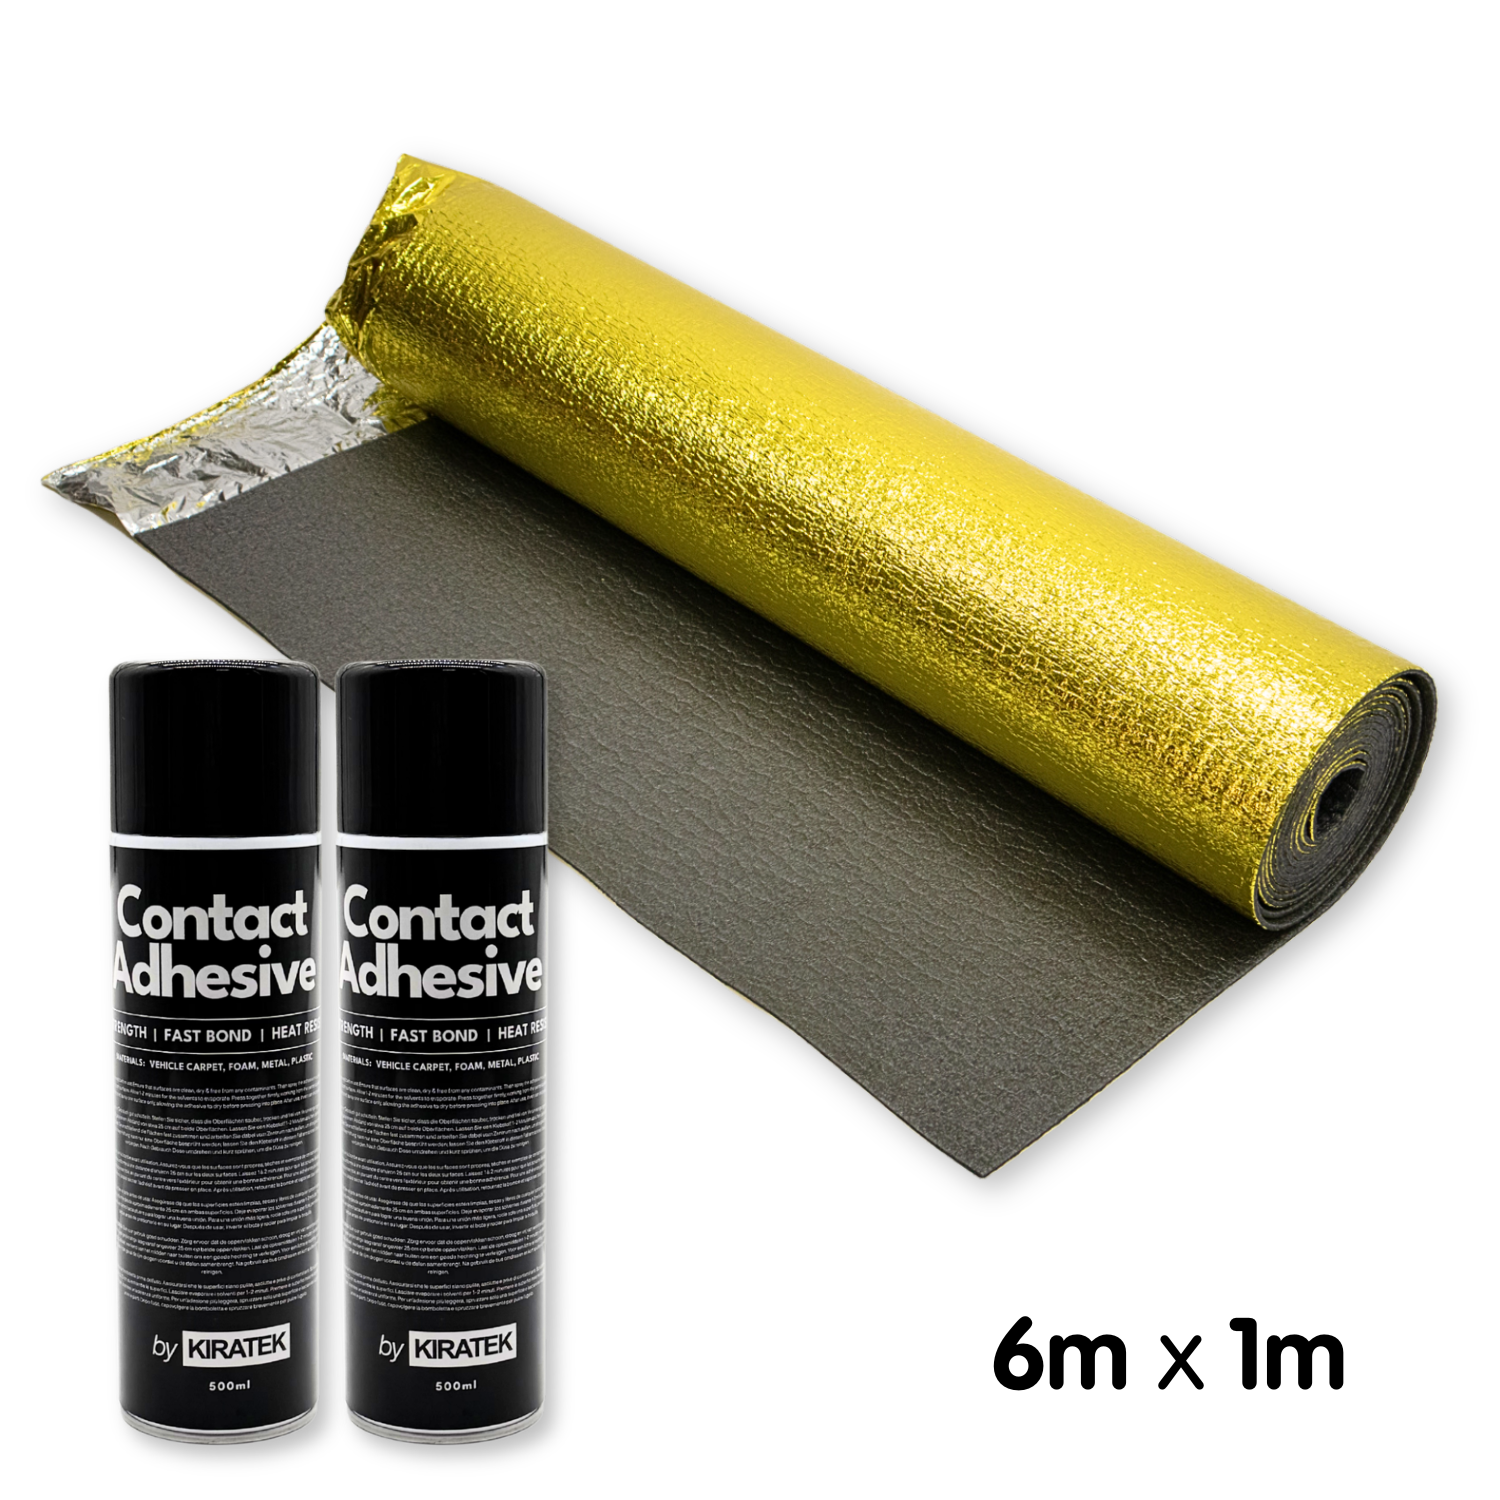
- Incluye suficiente adhesivo en spray de alta temperatura - ¡Un kit completo!
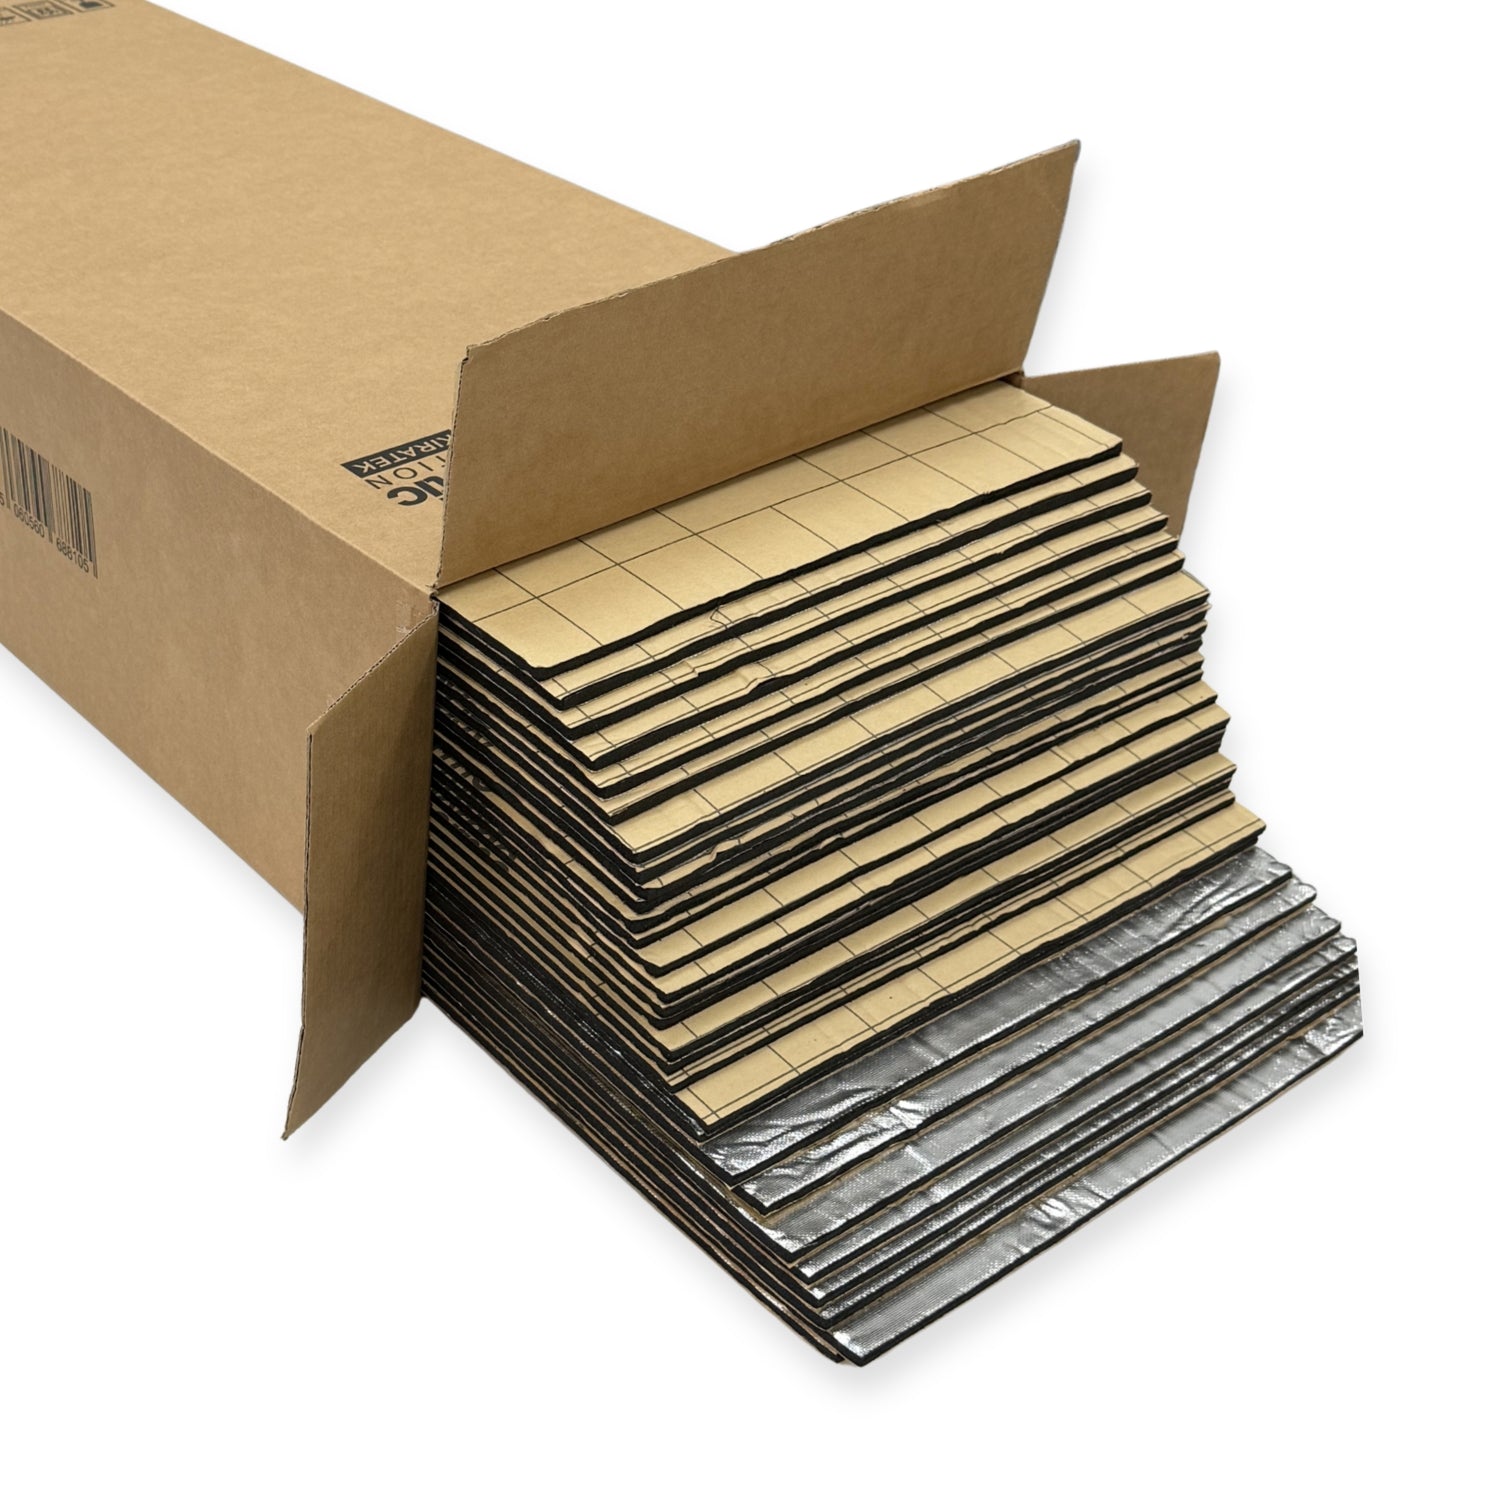
Detalles técnicos
- Anchura: 1 metro
- Longitud: Longitud a elegir
- Grosor: 5 mm
¿No está seguro del tamaño que necesita?
| Tamaño de la furgoneta | Cobertura de suelo aproximada necesaria | Aislamiento recomendado | Ejemplos de tamaño de furgoneta |
|---|---|---|---|
| Furgoneta HALF | 4m2 | 1 rollo de 4 m | VW Caddy, Ford Transit Connect |
| MEDIA - Distancia entre ejes corta | 5m2 | 1 rollo de 6m | VW Transporter T4/T5/T6/T6.1, Ford Transit Custom, Vivaro, Trafic, Primastar |
| MEDIO - Distancia entre ejes larga | 6m2 | 1 rollo de 6m | VW Transporter T4/T5/T6/T6.1, Ford Transit Custom, Vivaro, Trafic, Primastar |
| GRANDE | 7-8m2 | 2 rollos de 4 m | VW Crafter, MAN TGE, Mercedes Sprinter, Fiat Ducato |
Cómo instalar aislamiento bajo el suelo en una autocaravana
Qué necesita:
- Aislante de suelo Gold
- Adhesivo en spray de alta temperatura
- Cuchillo multiusos
- Cinta métrica
- Desengrasante + paño limpio
Consejo: Instale en condiciones secas y a temperatura ambiente para una mejor adherencia.
1. 1. Prepare el suelo: Barra / aspire cualquier resto de polvo y suciedad. Limpie el suelo metálico con desengrasante y deje que se seque completamente. Una superficie limpia es importante para que el adhesivo se adhiera.
2. 2. Desenrolle y corte el aislamiento:
-
Desenrolleel aislamiento por toda la superficie del suelo. Deje que se asiente en plano durante unos instantes para facilitar el corte.
-
Colóquelo en su sitio.
-
Corte alrededor de obstáculos como pasos de rueda, escalones, soportes de asiento o cualquier refuerzo del suelo. Utilice una cuchilla afilada y realice cortes lentos y controlados. Levante o doble ligeramente hacia atrás el aislamiento donde sea necesario para que pueda ver claramente el contorno.
-
Compruebe el ajuste con frecuencia.
A medida que vaya cortando, presione la plancha temporalmente para asegurarse de que se adapta bien a los contornos del suelo. -
Recorte los bordes para que quede bien ajustado.
Una vez que todo esté plano, arregle el perímetro recortando a ras de las paredes o nervios.
Consejo: Las planchas grandes pueden resultar voluminosas. Si la pieza resulta difícil de manejar, no dude en cortarla en dos secciones para facilitar el montaje; no afectará al rendimiento.
Si le resulta difícil manipular piezas grandes, también puede cortar el aislamiento en secciones más pequeñas y manejables. Así será más fácil colocar el material con precisión, sobre todo si se instala sin ayuda. Los recortes más pequeños también pueden utilizarse para rellenar limpiamente cualquier hueco que quede.
3. Aplique el adhesivo y fije el aislamiento
- Trabaje en secciones manejables para que el pegamento se mantenga pegajoso.
- Aplique una capa fina y uniforme de adhesivo tanto en el suelo metálico como en la parte posterior del aislamiento.
- Espere entre 30 y 60 segundos para que el adhesivo se vuelva pegajoso.
- Presione el aislante firmemente en su sitio.
- Alise desde un borde hacia fuera para evitar bolsas de aire.
- Asegúrese de que está completamente pegado sobre las crestas y esquinas.
4. Coloque el suelo
- Coloque el contrachapado o el revestimiento del suelo directamente encima.
- Si utiliza listones de madera, colóquelos encima del aislamiento (no sobre el metal desnudo) para mantener un aislamiento continuo.
Descargas
- 📄 Kiravans_Guide_to_Lining_and_Insulation_-_EN_-_EU_19.5.26?v=13216898753612586394
- 📄 Kiravans_Guide_to_Lining_and_Insulation_-_DE_-_EU_19.5.26?v=1341552485107635333
- 📄 Kiravans_Guide_to_Lining_and_Insulation_-_FR_-_EU_19.5.26?v=11781593676593581868
- 📄 Kiravans_Guide_to_Lining_and_Insulation_-_ES_-_EU_19.5.26?v=8701840867010735285
- 📄 Kiravans_Guide_to_Lining_and_Insulation_-_IT_-_EU_19.5.26?v=15379910778108904230
- 📄 Kiravans_Guide_to_Lining_and_Insulation_-_NL_-_EU_19.5.26?v=8694541492370723474
Entrega - 12,50 EUR
La sencilla tarifa de envío de Kiravans: una tarifa fija de 12,50 EUR para los países de la Zona 1 y 2, independientemente de la cantidad de artículos que compres.
Este enfoque transparente significa que solo pagas por la primera caja, ya compres un artículo o veinte. Creemos en la equidad y la honestidad, y nuestra tarifa de envío lo refleja al no ocultar costos dentro de los precios de nuestros productos.
¿No estás seguro de en qué zona te encuentras? Consulta aquí.
Kiravans ofrece una completa política de"Devoluciones sin objeciones ". Puede devolver cualquier compra hasta 90 días después de la compra, para un cambio o reembolso completo.
Sólo le pedimos que siga los consejos de mantenimiento y las fechas de caducidad recomendadas por el fabricante. Lea nuestra política completa aquí >
Pago y seguridad
Su información de pago se procesa de forma segura. No almacenamos los detalles de la tarjeta de crédito ni tenemos acceso a la información de su tarjeta de crédito.
Kiravans es el principal minorista en línea de productos para la conversión de furgonetas camper. Llevamos más de 16 años diseñando, fabricando y buscando equipos de la mejor calidad.
Nuestro almacén está en los Países Bajos. Nos enorgullecemos de nuestras entregas rápidas y no hay aranceles ni derechos de importación que pagar, solo una experiencia de compra sin complicaciones.
Lee la historia completa de Kiravans aquí
Ver todo >